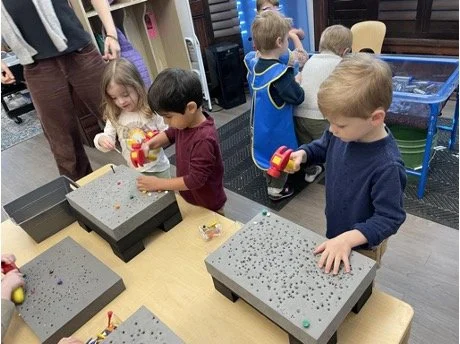
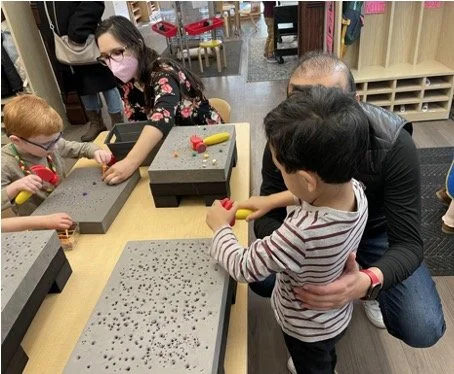
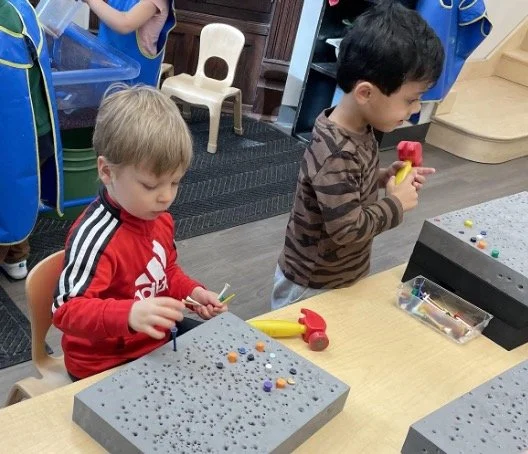
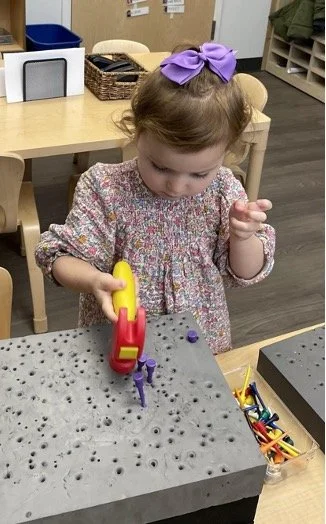
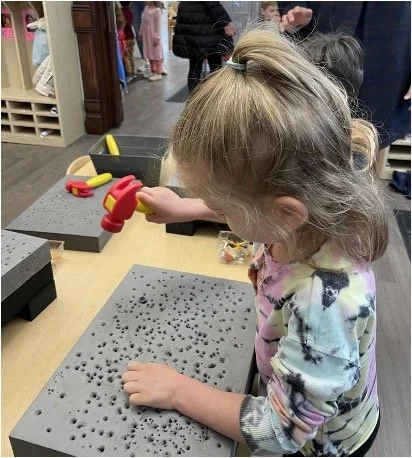
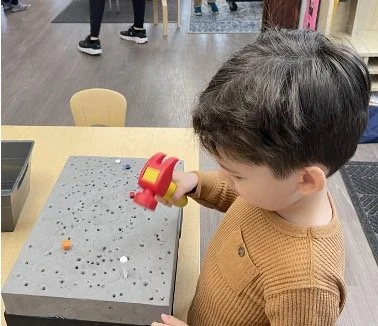
This week we introduced hammering in the classroom. We offered foam blocks with hammers and tees. Children were pretty excited to see the hammers. While some kids said they were familiar with them, many had never used a hammer before. With this group, we like to use foam blocks that have some pre-existing holes that children can insert the tees into before they hammer. This means that they can concentrate on aiming the hammer and not worry about accidentally hammering a finger. Most needed to be shown how to position a tee in a hole and aim the hammer. It takes children some time to figure out just how much force is needed to make the tee move and they worked diligently at hammering until they saw movement. Once they were able to successfully pound a tee in, kids were thrilled with their accomplishment!
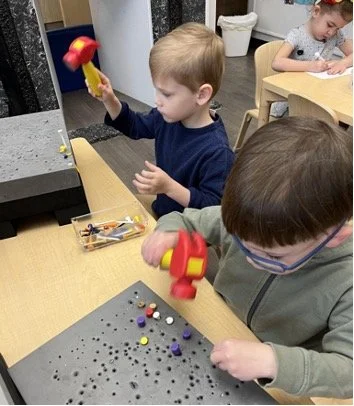
Once they hammered in all of the tees, children faced another challenge: removing the tees. Teachers demonstrated that the tees could be pulled out, either with the claw on the hammer’s head or with fingers, and children set out to remove their tees in order to start over again. There is some variability in how much power is needed to remove different pegs. Some slide out easily while some really need to be pulled hard. The claws can make this job easier, but they only work on the largest tees and their use is not intuitive. Children must differentiate between the two sizes of tee, then be shown how to hook the claw on the tee head and finally rock the hammer in order to remove the tee. Some are able to remove a tee by just pulling up, but it can still be a challenge to get the claw positioned on the head of the tee. Children were highly invested in this activity and worked through these challenges, occasionally asking for adult help. It is exciting to watch each child’s sense of competence grow as they master this new activity.