
Hi there,
Have you been hearing about Marble Painting?
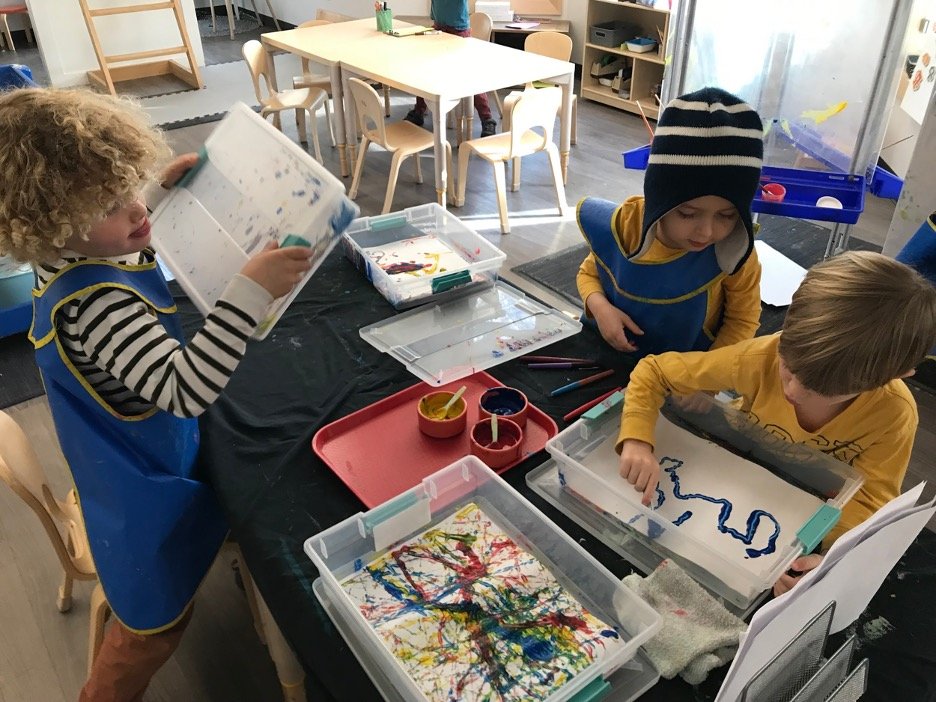
It was our art project this past week. This is a multi-step project that incorporates fine motor and hand-eye coordination skills, and involves physics! There are quite a few steps to remember and fun ways to experiment in the process: put your name on your paper, flip it over, place it into the plastic container, try to pick up a slippery, painty marble with a small spoon, drop it onto your paper, return the spoon, or use the spoon to push your marble around on your paper, help the marble move about your paper by tilting the container, take out the marble with the spoon (sometimes fingers!), choose another paint color, or use the spoon to roll the marble around in order to cover it with more paint! Plop that marble down and have another go. Phew! Oh, and once finished, replace the marbles, the spoon, place your painting on the drying rack and remove your smock. With each experience, children start to get this process down. Many were enjoying all of the discoveries they made such as: if you secure the lid onto the container, you can shake the container about as fast as you can. Clickity, clickity, clickity! Often, children like to experiment by adding more than one marble at a time, or to observe the marble’s path as the child slowly tilts the container. Noticing that the marble’s path can be averted mid-roll by shifting the container’s position is also a thrilling discovery!
If you’d like to try this project at home, below are the steps and some helpful tips.
Have fun!
Anita Chris Sarah


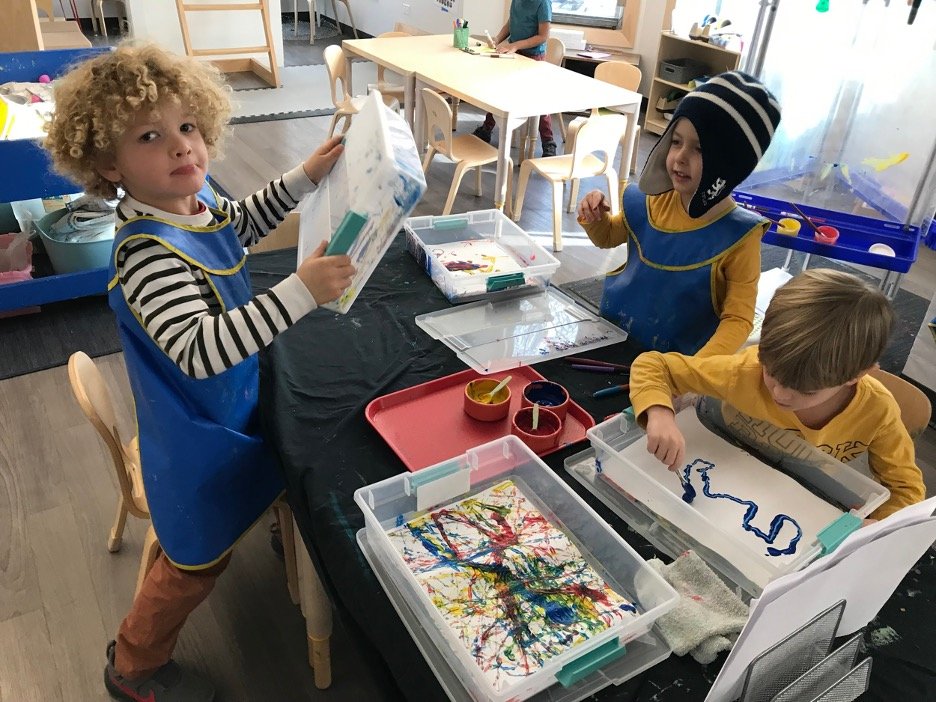


MARBLE PAINTING
Fill 3 small cups with each paint color (or just use 1 or 2 colors if you want)
Write your name on a piece of paper (optional, but an opportunity to practice writing).
Flip the paper over and put the paper into a box (we have used Sterilite containers with lids or plastic shoe boxes)
Put a marble or 2 in each paint cup
Use a spoon or small tongs to move the marble around in the paint so it’s covered
Use spoon or tongs to pick up a marble and place it on the paper in the box
Pick up the box and gently move it around to help the marble roll along the paper inside
See how the marble has covered the paper with paint
Try it with a different color, or using multiple marbles at once
Try snapping the lid on. Kids can move or shake the container faster and look through the sides.
Remove the lid and take a look at the painting
Remove the marbles with the spoon or tongs
Take the paper out and let it dry in a safe spot
Tips
-For less mess, you can use a box with a lid. However one of the best parts of marble painting is watching the marbles roll as you tip the box. So, if you don’t have a lid, try using plastic wrap to cover the box!
-Feel free to use more colors if you would like. Just be aware that you will then need more cups, more balls, and spoons.
-It’s a great multi step project: see if they can remember the order of the process.
-Body/eye coordination: If they want to make the marble go left, they will have to tilt the box towards that way. Usually the first instinct is to move side to side making horizontal lines. Ask how they can make lines up and down (vertically). Maybe on a new piece of paper, challenge them to only make dots (if you have a lid or plastic wrap)- what kind of movements will that require? For your older kids, what about the tricky diagonal line or zigzags?